Heatlie BBQ Flat Plate
Speak to an expert about this product
Enter your details and one of our expert staff will contact you at your preferred time to discuss your requirements.
Description
Heatlie BBQs are the toughest barbeques in the world.
Originally designed for professional chefs, the full range of Heatlie BBQs are now available for you to enjoy at home. Available in 3 sizes and a choice of stainless steel or powder coated finish, you’re bound to find a Heatlie BBQ which looks fantastic in your outdoor kitchen or backyard. All Heatlie barbeques feature our unique burner system which uses precision machined burners to produce a more even heat than other barbecues.
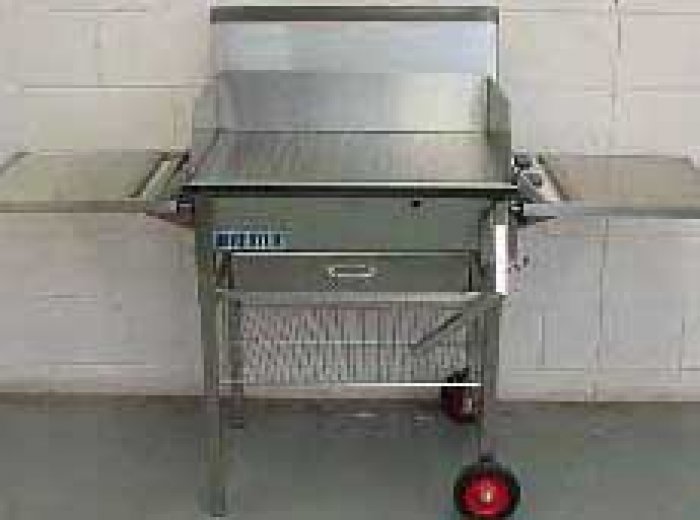
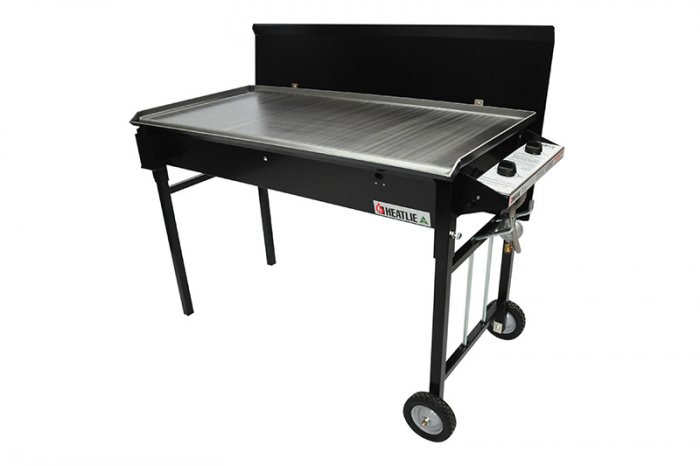
Powder Coated BBQ
Heatlie Mobile powder coated barbeque, as pictured, shows the 700 size with splashback, warming drawer and end tables.
All Heatlie BBQs have two burners running right to left, with the controls on the right hand side. Solid 5mm, 10mm and 20mm mild steel hotplates are available. Stainless Steel hotplates are also manufactured in our factory.
All Heatlie BBQs feature automatic Dual Piezo ignition and removable legs. Heatlie BBQs can be made to suit Natural or LP gas. Available in three sizes; 700mm, 850mm and 1150mm (the size indicates the length of the hotplate.)
The Powder Coated finish is available in Burgandy and Black.
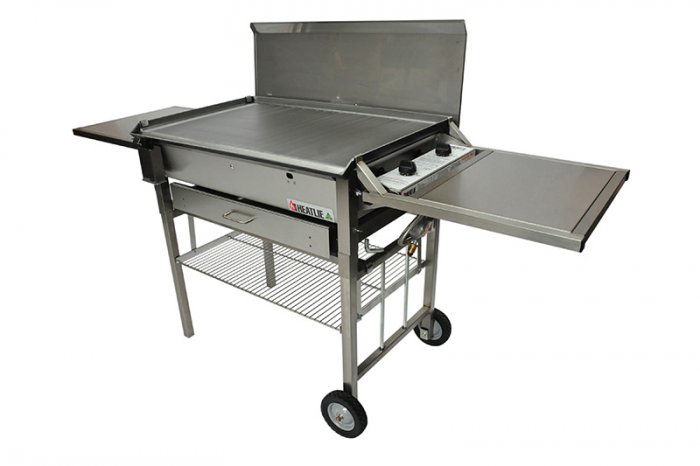
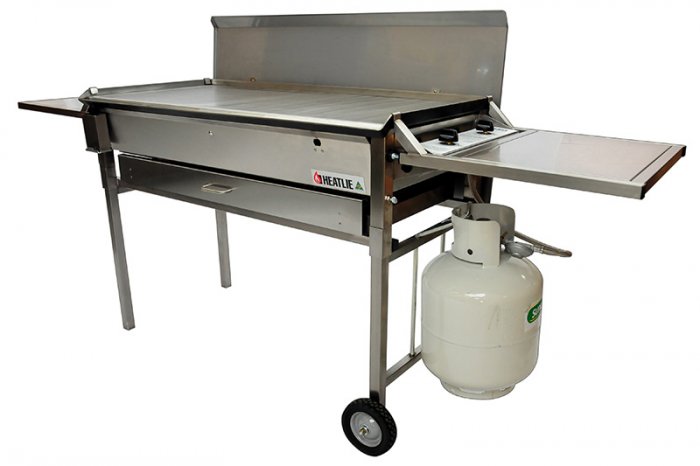
Stainless Steel BBQ
Stainless Steel BBQs are available in 3 sizes, 700mm, 850mm and 1150mm (the size indicates the length of the hotplate.)
Heatlie BBQ Hotplates
Heatlie manufacture a range of hotplates to suit many applications and personal preferences. We recommend a 10mm mild steel plate for any commercial application or where the BBQ may be lit for any period of time.
The 5mm mild steel plate will suit most domestic situations, but if for any reason the bbq will be left heating without food on the plate for longer than 5 minutes, you are best to choose the 10mm version.
Many customers request a stainless steel hotplate, and while this may not be the best option for heat transfer, they prefer the properties stainless steel provides.
To ensure a good cooking surface for your Heatlie BBQ for the lifetime of your bbq, begin with seasoning the Heatlie hotplate by following the instructions in your new bbq package. This will ensure food does not stick to the plate and will protect from corrosion as well.
Specifications
Box Contents
Heatlie Barbecue: Barbecue plate and body four thumbscrews.
Leg Kit Box containing:
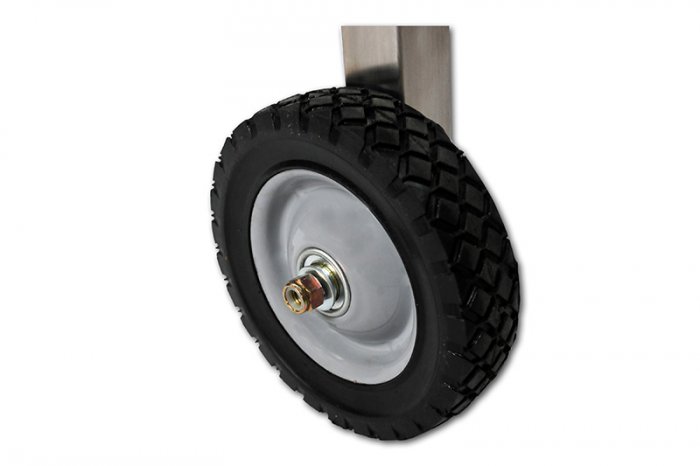
- 2 wheels
- 1 leg with bottle bracket
- 2 axle assemblies (each including 1 axle, 2×1″ washers, 1xI washer, 1xI nyalock nut)
- 1 leg without wheels
BBQ Assembly Instructions
It is important that the leg/wheel kit is assembled first.
Leg/Wheel Kit Assembly
Remove contents of Leg Kit Box. To secure wheels on wheel leg kit:
- Remove all washers and nut from the stub axle
- Pass axles through hole at the bottom of the wheel leg so that the axle thread is protruding from the outer side of the leg.
- Place one of the 1″washers on the axle
- Place the wheel on the axle
- Place the other ½ washer on the axle
- Place the other large washer on the axle
- Screw the nyalock nut with the nylon on the external side
- Tighten nut to required tension using spanner
- Repeat process for other wheel
Barbecue Assembly
Note: If Warming Drawer is being used, this needs to be fitted now. Pleaserefer to Assembly of Heatlie Accessories Warming Drawer before commencing.
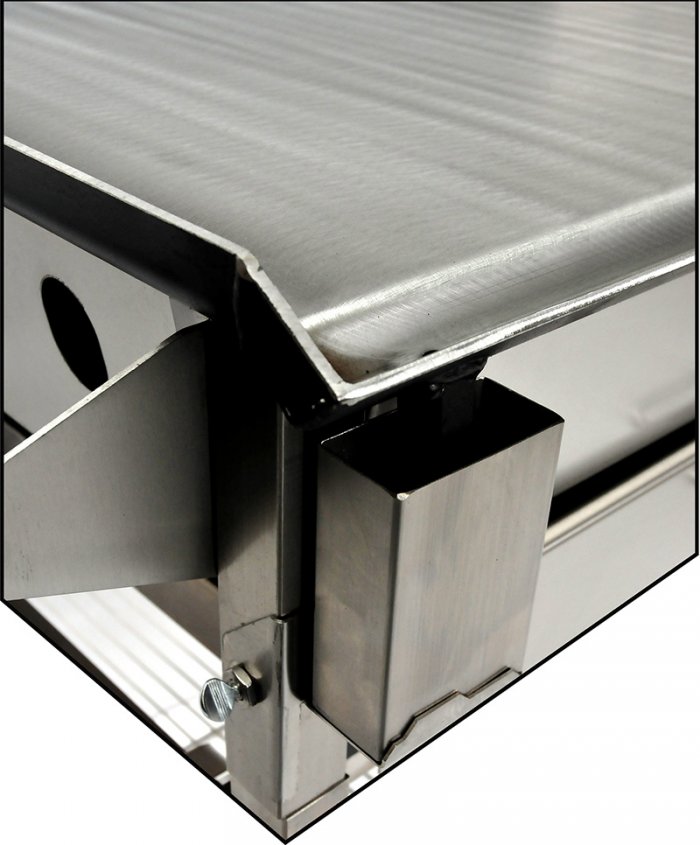
- Twist out thumbscrews on corner of cook-top for enough so as not to interfere with the insertion of the legs.
- The legs with Gas Bottle Bracket belong at the end where the gas controls are located.
- You will need to either:
- Place the BBQ, plate side down, on the ground, then install legs as follows then with a one person either end of the BBQ, turn up the right way and rest on legs
- OR Have 2 people holding the BBQ, one person to hold the handle on one end and the other to hold the control panel on the other end, lift the BBQ above the height of the legs and have a 3 rd person insert the legs.
- Install legs by pushing them up into the corner stubs of the barbecue.
- Ensure legs penetrate past the thumbscrew level and then tighten the thumbscrews.
- Legs can be slightly raised using thumbscrews to achieve slight fall on cook-top for fat drainage.
Once final leveling is achieved keep thumbscrews tightened this keeps unit rigid and prevents legs dropping when moving unit.
Gas Bottle and Line Fittings
- Gas Bottle: Hang gas bottle on the brackets provided. The handle at the top of the bottle sits over the bent brackets.
- Regulator: Connect the regulator to the bottle, and the flexible hose to the Barbecue nozzle fitting at base of burner controls (3 BSP fitting).
Note: this is a low pressure appliance and a pressure regulator must be used.
You cannot connect this LPG barbecue directly to a natural gas supply.
(The Heatlie BBQ can be easily converted for use with Natural Gas.) - Gas Line Fittings: Use a spanner to tighten the flexible hose to the barbecue (right hand thread). Do not over tighten. Tighten gas bottle connection with fingers ( left hand thread). Keep gas line away from potential hot surfaces.
- Leak Test: With the gas line connected to the controller unit turn gas on at bottle and check for leaks. Use soapy water brush over joints on gas bottle and connection at controller unit and watch for bubbles.
Assembly of Heatlie BBQ Accessories
Protective Cover
- Attach handle to outside of protective cover.
- Attach step bracket to the inside of the cover.
- Put screw through the hole in the step bracket making sure that the elevated step of the bracket is facing the rear of the cover (this will allow the cover to be used as a wind shield when cooking).
- Pass screw through cover and into handle.
- Tighten firmly using screwdriver.
- Repeat process for other side of handle (for 1150 model only)
End Table
- End tables can be placed on either side of barbecue.
- Secure end table by positioning mounting support hook over the top edge of hot-plate allowing adjustable feet to rest against the stub leg of the barbecue cook-top.
- Use end table screws to adjust to desired level making sure that both end table feet are placed against the stub of the barbecue cook-top.
Warming Drawer
- Ensure the BBQ legs have been removed from the BBQ cook-top.
- Turn cook-top upside down (place on grass or non abrasive surface so as to avoid scratching cook-top).
- Remove galvanised sheet base by removing the 4 (or 6) screws using a Phillps head screwdriver.
- Remove drawer from drawer frame.
- Place warming drawer frame on the stub legs of the cook-top base.
- Ensure that the back panel of the drawer frame is at the rear of the BBQ and blanks the space between the frame and cook-top body.
- Insert wheel leg (Gas Control end of the barbecue) through drawer frame into stub leg of BBQ until leg cross rail meets drawer frame( ensure that bottle bracket is facing out from the BBQ). Tighten thumbscrews.
- Insert other leg kit so that leg cross rail meets drawer frame. Tighten thumbscrews.
- Turn barbecue over onto legs.
- Remove plastic from base of warming drawer.
- Insert drawer into front of drawer frame.
Drain Extension
- Hook drain extension into the drain spout in the front right hand corner of the barbecue cook-top.
- Drain extension should extend down towards the ground with the angle facing the middle of the barbecue.
- Place a 20 litre drum or similar container to catch fat and liquids when catering for large numbers.